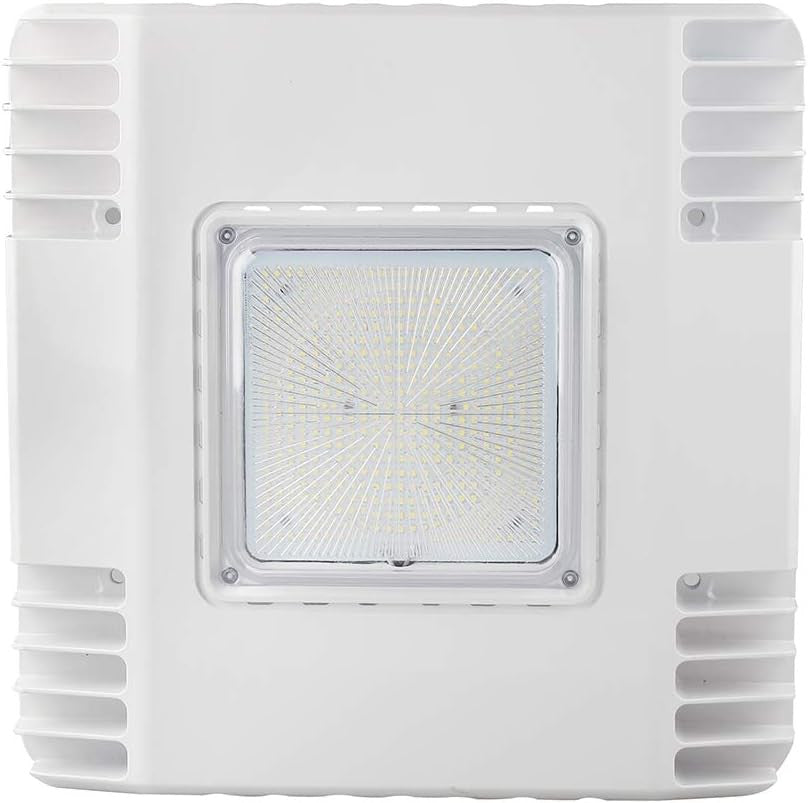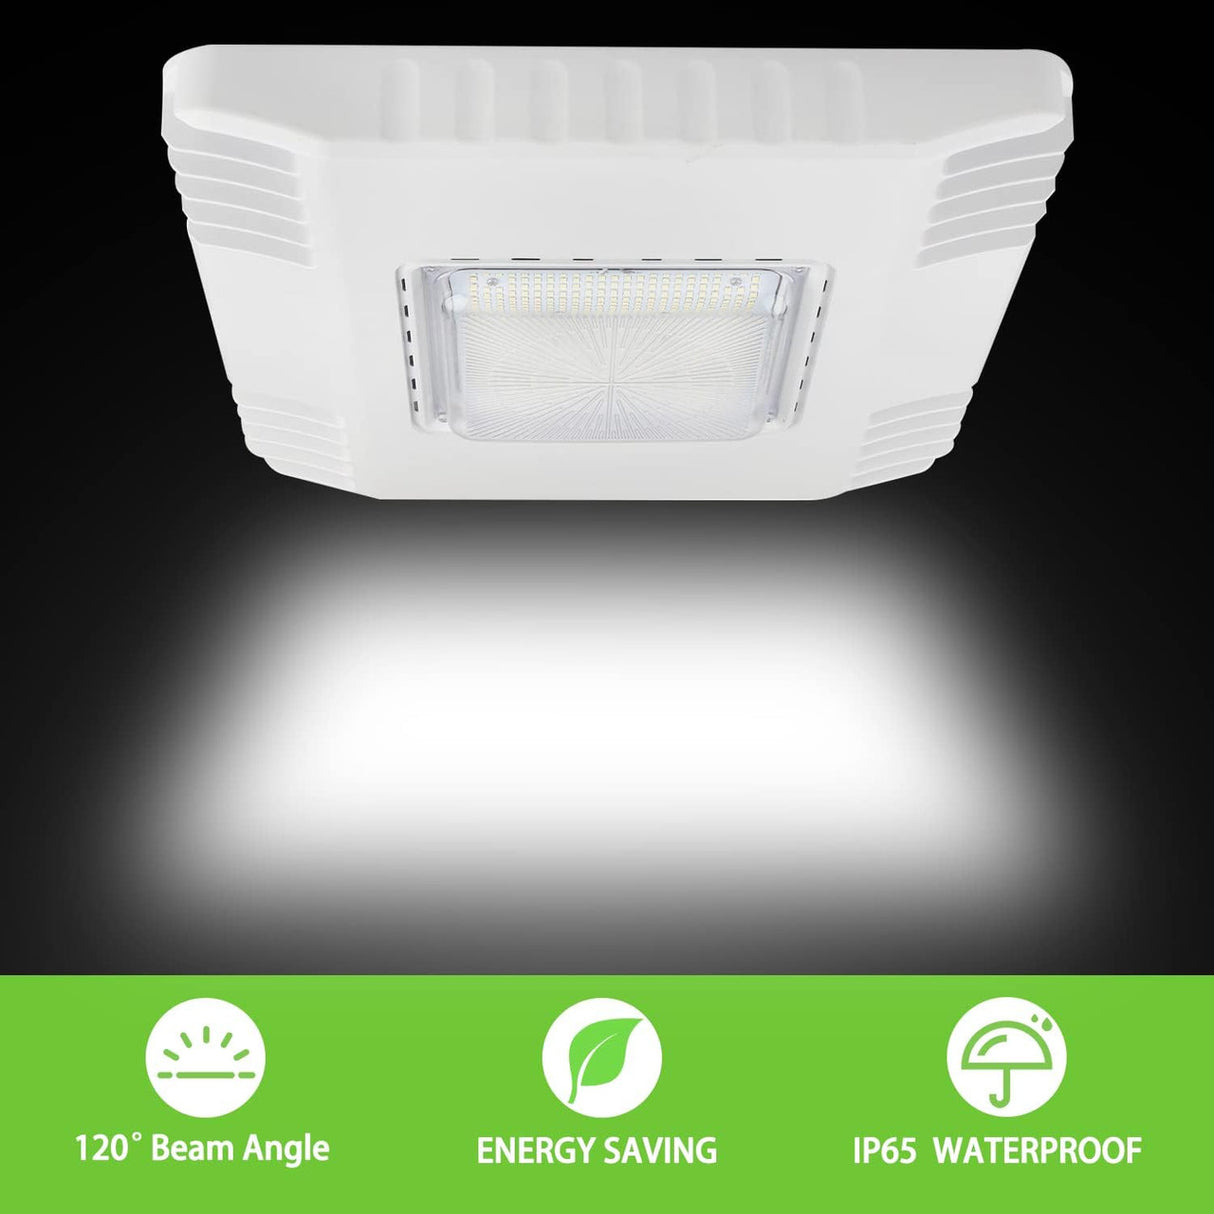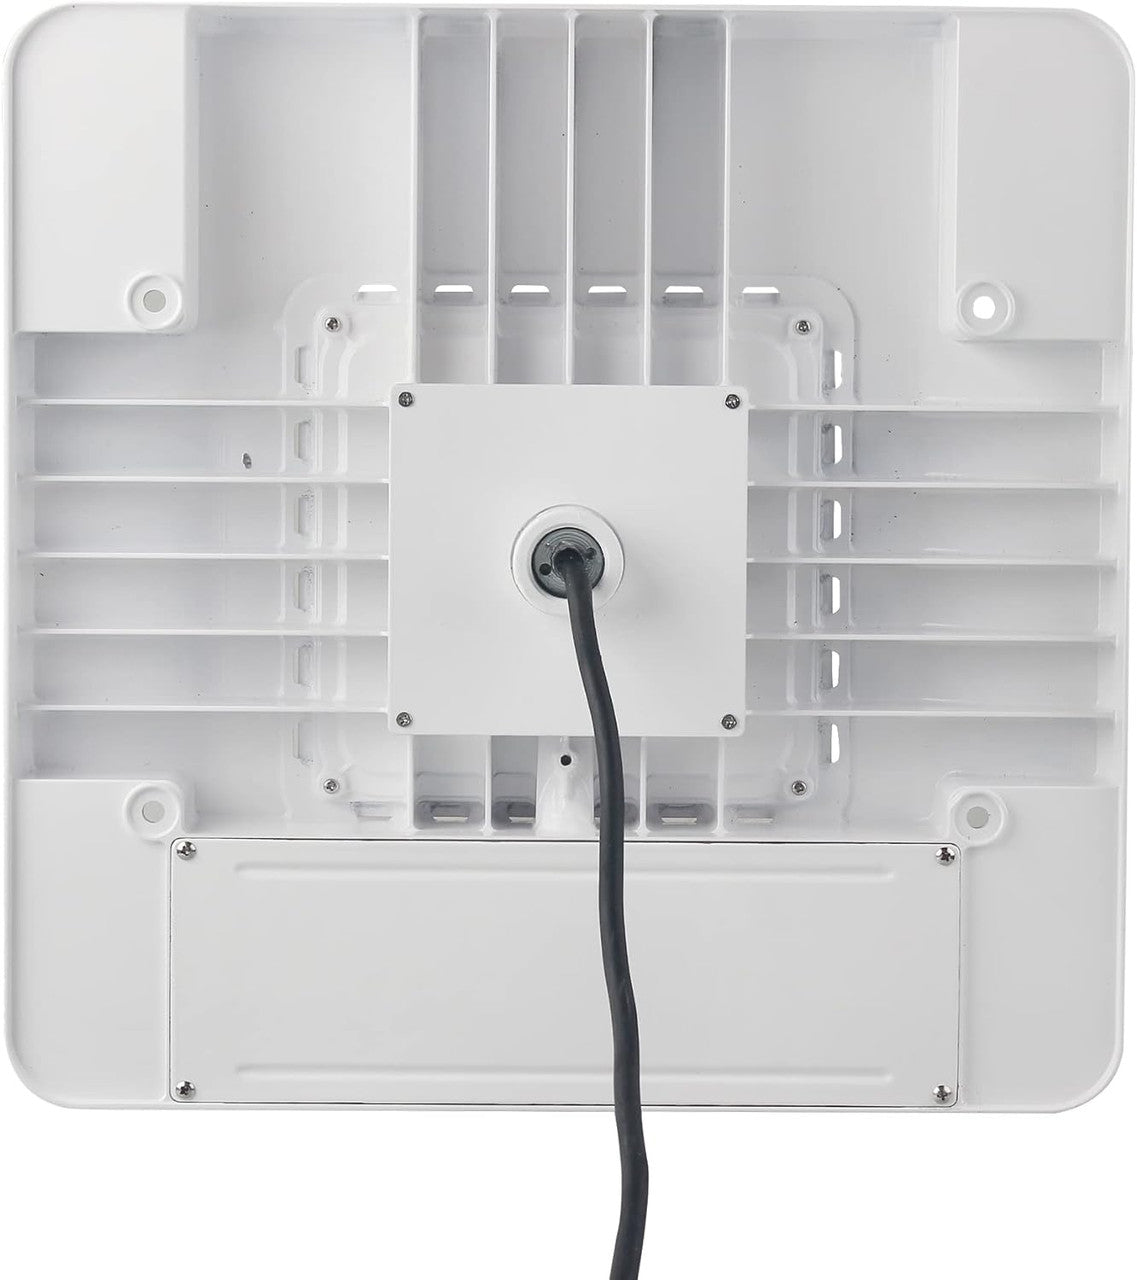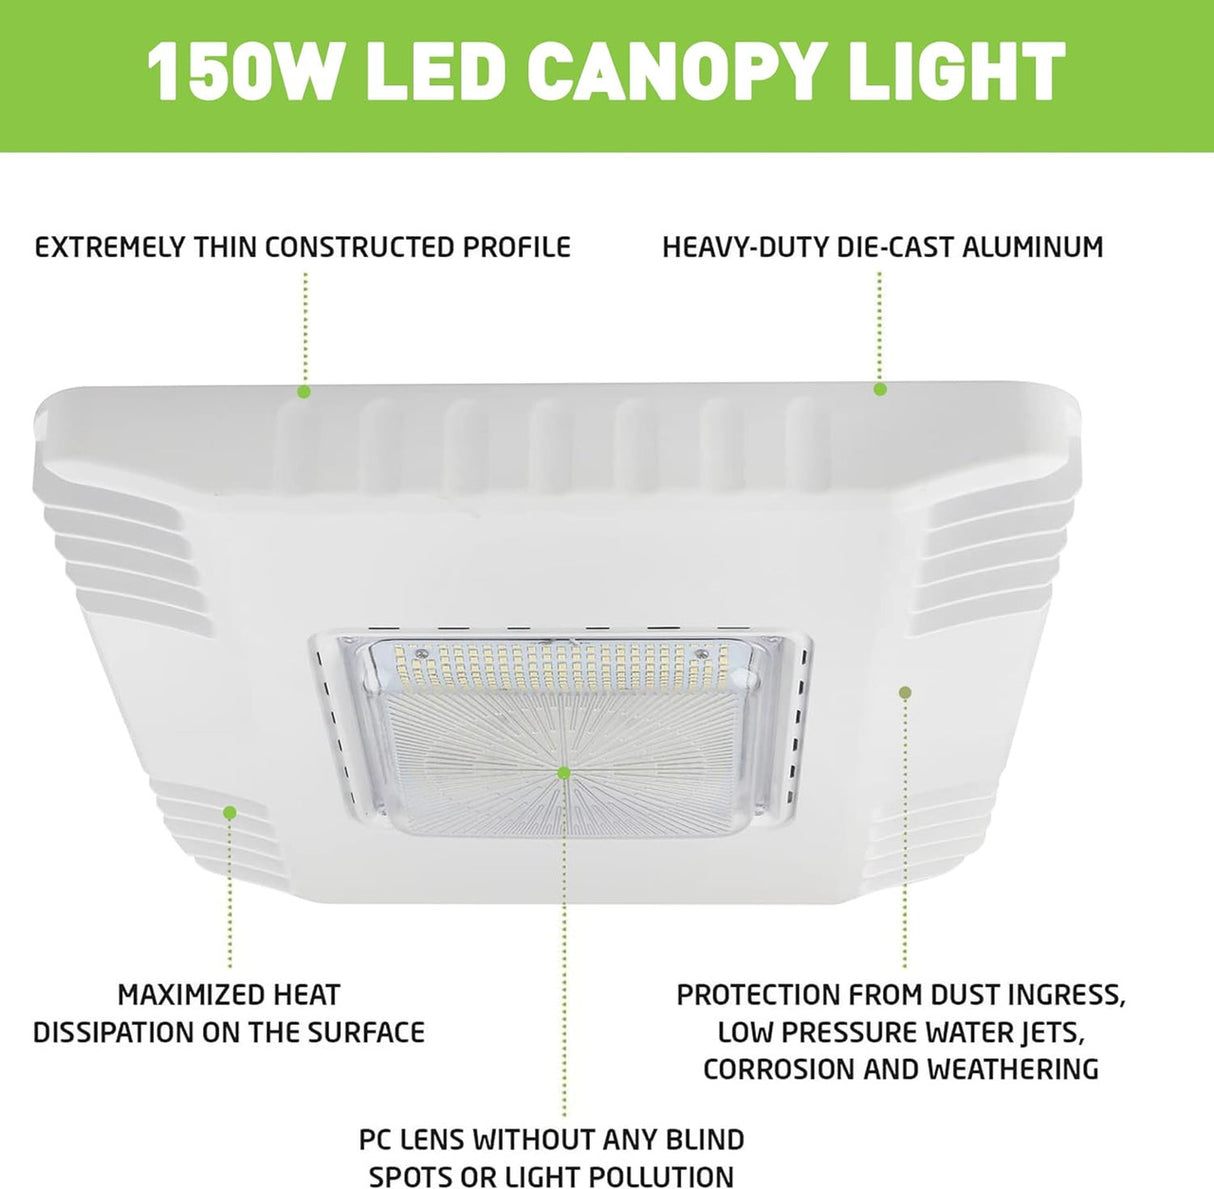


LED Canopy Light - 150W - 21,000 Lumens - 5 Year Warranty - Slim profile

Features
Features
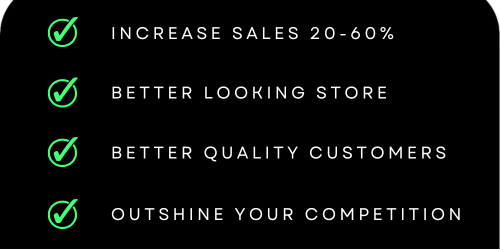
Increase sales 50% - 150% with Digital LED Price Signs
- Super Bright High Quality LEDs - 100,000 Hour Life Expectancy (11+ years)
- 120 Degree viewing Angle
- Light sensor with automatic dimming
- Built with very high quality, durable, light weight steel frame
- Waterproof / Weatherproof
- Wireless Remote control with up to 300 feet direct line of sight
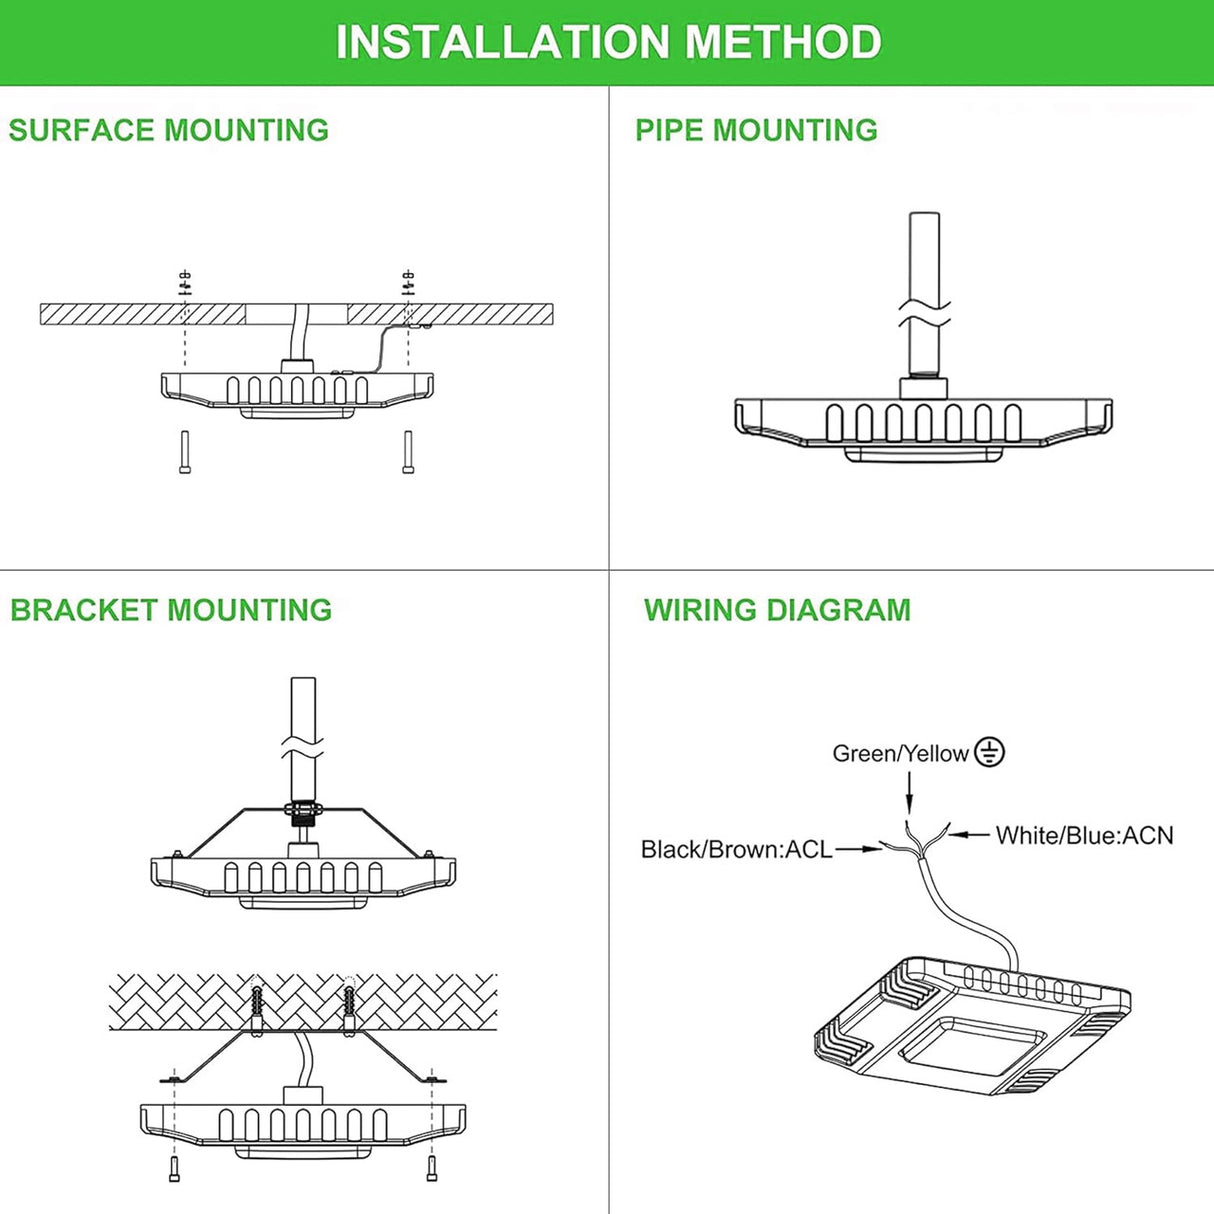
- Simple Installation (no assembly Required)
- Available in Red, Green, Amber, Blue, White
- Change LED Gas Prices easily from within the store
- Reduce liability concerns from manual price changing
- Attach 2 signs back to back for double sided display
- Digital Heights: 6", 8", 10", 12", 16", 18", 20", 24", 36"
- Mount onto existing signs or into new construction
- Control up to 12 displays with one remote
- Low energy consumption
- Plexi Glass protects LED Lights from potential damage
- Create an image standard for multiple locations
- Multiple formats available: standard, condensed and international liter
- Link additional displays with ease
- User Friendly Remote Controller makes adjusting prices simple and easy
- Help your business grow more quickly
- Store never left unattended
- Grab Customers Attention
- Five (5) Year Factory Parts Warranty
Specifications:
- 100,000 Hour Life Expectancy
- 120 Degree viewing Angle
- Available in Red, Green, Amber, Blue, White
- Digit Height: 6" 8" 10" 12" 16" 18" 20" 24" 36"
- Digital Number Styles: 8.888 8.889 8.88 9/10
- Temperature range: -10F - 140F
- Humidity Range: 10-80%RH
- Power Input: 100-240VAC , 60Hz/50Hz
- Brightness: 5000 cd/m2 over 7000 NITS
- Visibility >500 yards
- Wireless remote communication distance >300 feet
- Housing Material: Weatherproof Steel casing with clear acrylic front protective cover
- Waterproof rate: IP 65
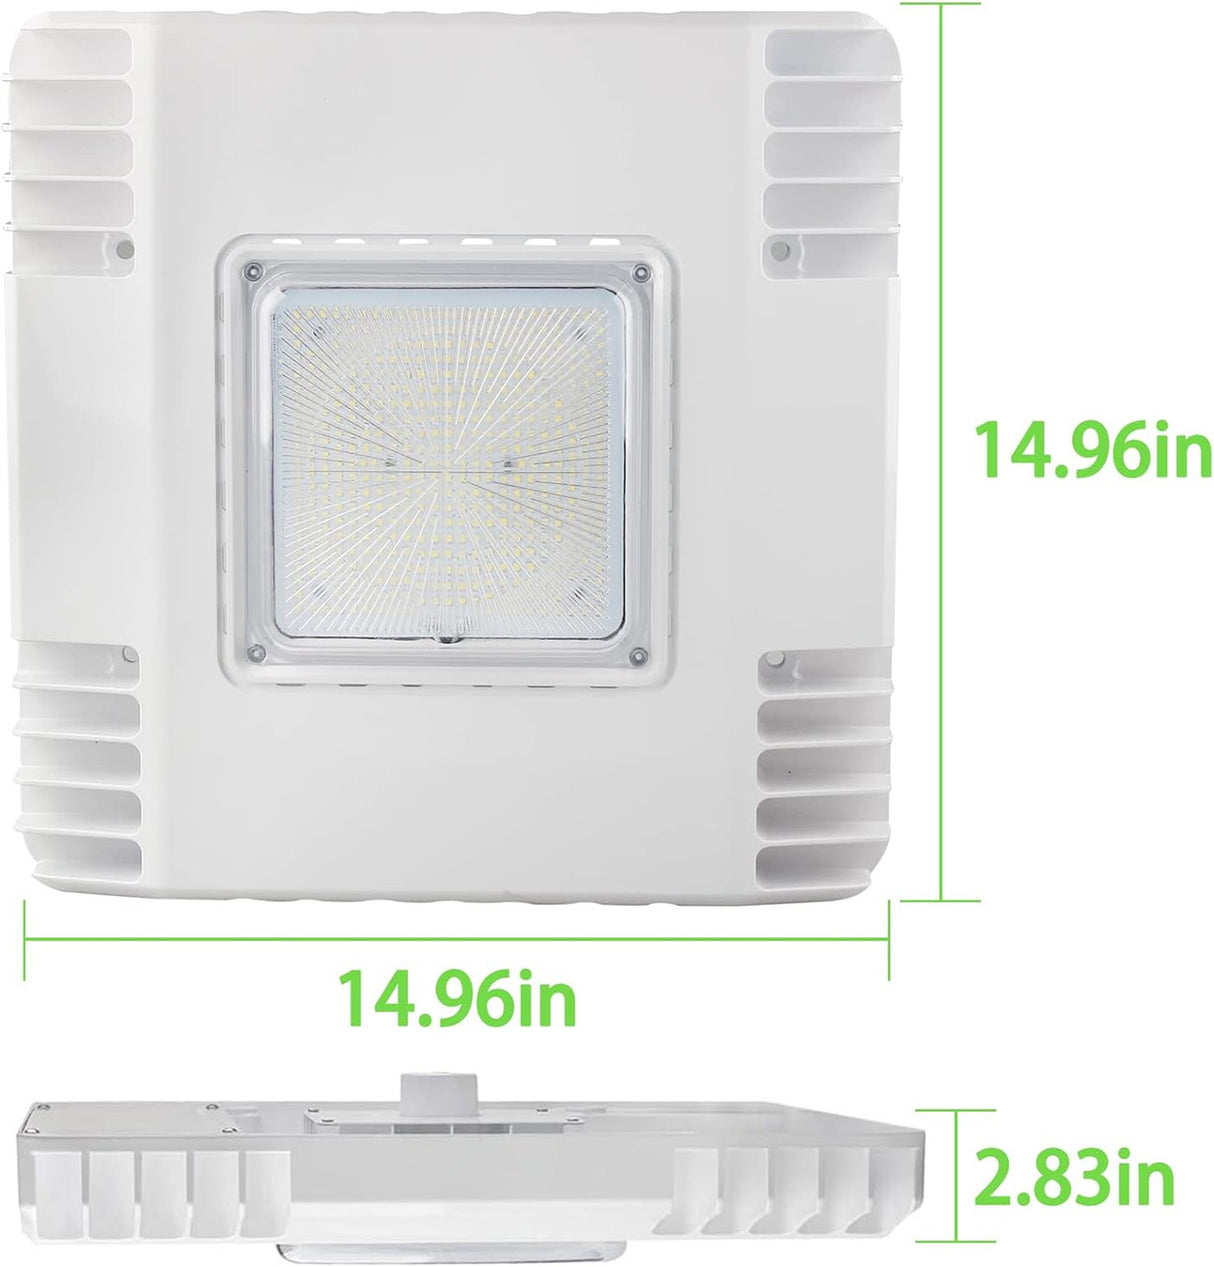
- 2.35" super-slim profile and ultra-lightweight construction Installs into existing sign with little or no retrofitting
- Control up to 12 displays with one remote
- Multiple formats available: standard, condensed and international liter
- Link additional displays with ease
- Light Sensor with automatic dimming, 8 levels of automatic intensity adjustment
- Low energy consumption
- Input power 120V
Description
Description
Specifications of LED Canopy / Gas Station Lights
LED Gas Price Signs Video
Full 5 Year Warranty on all of our LED Gas Price Signs
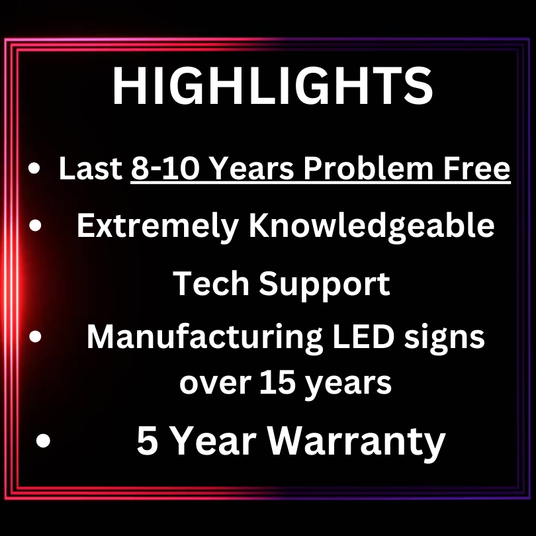
Knowledgeable Tech Support Staff
Our staff knows our LED Gas price signs inside and out for quick & easy support.
5 Year Warranty
The best warranty available for LED Gas Price signs. We use the highest quality components. Our signs typically last 8-10 years, and then we have parts for anything afterward.

Manufacturing Over 15 Years
We have been manufacturing LED signs for over 15 years.

EASY FAST FLEXIBLE FINANCING FOR YOUR DIGITAL LED SIGN AVAILABLE
90 DAYS – NO PAYMENT – NO INTEREST
- Leasing terms up to 84 months
- $0 Down
- Low introductory payment options
- Grow your business
- New equipment financing
- 100% financing
- Deferred payment options
- Fast credit decisions
Specs & Info
Frequently Asked Questions
Shipping
How long will it take to receive my order?
How long will it take to receive my order?
Most signs are in stock ready to ship. Standard shipping normally takes 2-5 days. Next day shipping is available on all domestic orders (for an additional charge).
What countries do you ship to?
What countries do you ship to?
We currently ship to the United States & Canada. To enquire about shipping to a different destination, please contact us.

